Introduction to YOLO
YOLO (You Only Look Once) has revolutionized real-time object detection, making it perfect for industrial defect detection applications where speed and accuracy are critical.
Why YOLO for Defect Detection?
- Real-time Processing: 30+ FPS on modern GPUs
- Single-stage Detection: Fast and efficient architecture
- High Accuracy: State-of-the-art results on various datasets
- Easy to Train: Transfer learning from pre-trained models
Setting Up Your Environment
1
2
3
4
5
6
# Install required packages
pip install ultralytics opencv-python numpy

# Import libraries
from ultralytics import YOLO
import cv2
Training Your First Model
1. Prepare Your Dataset
Organize your data in YOLO format:
1
2
3
4
5
6
7
dataset/
  ├── images/
  │   ├── train/
  │   └── val/
  └── labels/
      ├── train/
      └── val/
2. Create a Configuration File
1
2
3
4
5
6
# data.yaml
train: ./dataset/images/train
val: ./dataset/images/val

nc: 5  # number of classes
names: ['scratch', 'crack', 'dent', 'corrosion', 'missing']
3. Train the Model
1
2
3
4
5
6
7
8
9
10
model = YOLO('yolov8n.pt')  # Load pretrained model

# Train the model
results = model.train(
    data='data.yaml',
    epochs=100,
    imgsz=640,
    batch=16,
    device=0  # GPU device
)
Real-time Detection
1
2
3
4
5
6
7
8
9
10
11
# Load trained model
model = YOLO('best.pt')

# Run detection on image
results = model('defect_image.jpg')

# Display results
for r in results:
    im_array = r.plot()
    cv2.imshow('Defect Detection', im_array)
    cv2.waitKey(0)
Performance Optimization
Tips for Production Deployment
- Use TensorRT for faster inference
- Optimize image size based on your defect sizes
- Implement batching for multiple images
- Use confidence thresholds to reduce false positives
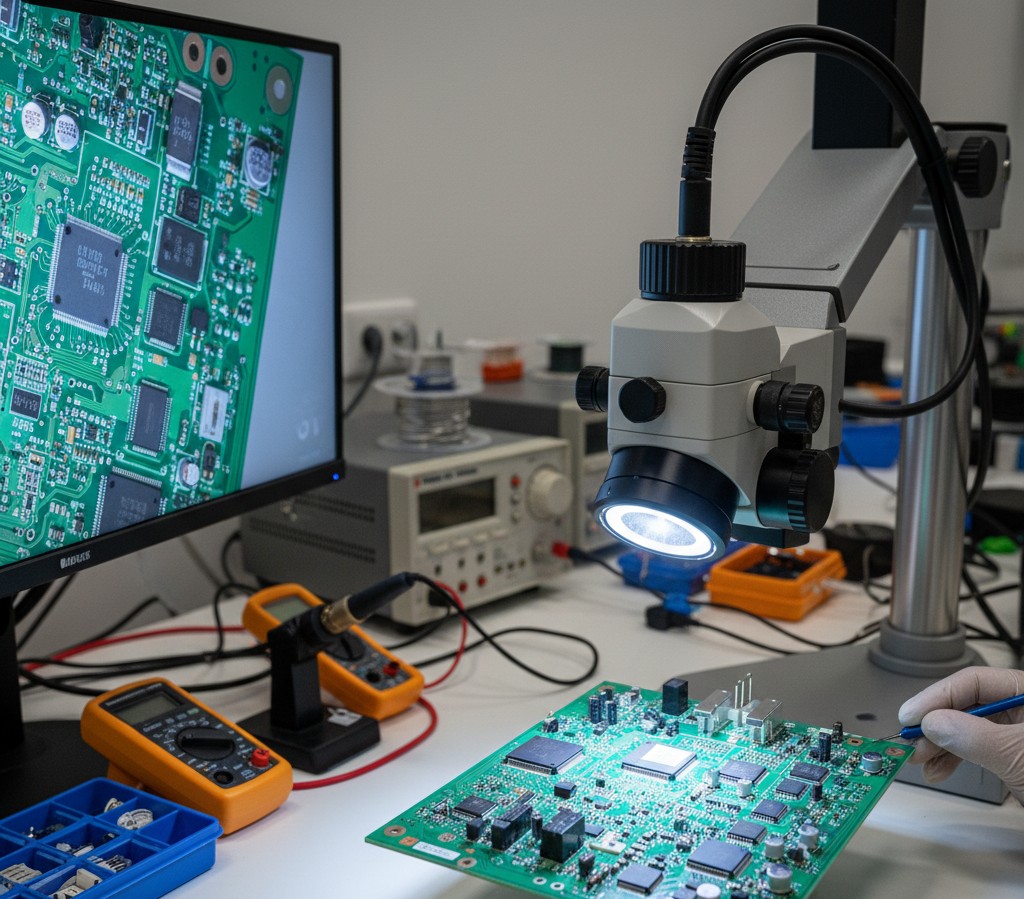
Results
On a typical PCB defect dataset:
- mAP@50: 94.5%
- Inference Time: 28ms per image
- False Positive Rate: < 2%
Conclusion
YOLO provides an excellent balance of speed and accuracy for defect detection applications. With transfer learning and proper dataset preparation, you can achieve production-ready results quickly.
Next Steps
- Fine-tune hyperparameters
- Experiment with different YOLO variants (YOLOv8s, YOLOv8m)
- Deploy to edge devices
- Implement active learning pipeline
Recommended Resources
Want to learn more? Check out these resources:
- Hands-On Machine Learning Book - Comprehensive ML guide including computer vision
- NVIDIA RTX GPU - Recommended for training YOLO models
- YOLOv8 Official Documentation - Complete guide and examples
Note: Some links are affiliate links that help support this blog at no cost to you.
Related Tutorials
Take your YOLO skills further with these guides:
- YOLOv8 PCB Defect Detection - Complete PCB inspection project
- Building a Real-Time Detection System - From prototype to production
- 5 Common Mistakes in CV Projects - Avoid these pitfalls
- Best Datasets for Training - Where to get training data
Industry Applications
- Weld Defect Detection - YOLO for welding inspection
- Fabric Defect Detection - Textile manufacturing QC
Hardware
- Best Budget Cameras - Cameras under £500
- Jetson Nano Setup Guide - Edge deployment
Have questions? Contact us or leave a comment below!